Showing posts with label Winter. Show all posts

Monday, January 22, 2018

Winter Center Activities

Word Work is the easiest center for me to set up.  I prepped these centers 5 years ago and I store them by month in a 2 gallon zip-lock bag.  My monthly word work centers build upon each other so when I pull out the new centers for the month, they require very little to no explanation. Students already know exactly what to do and what my expectations are!
Now, just because these centers are titled 'Word Work Centers' does not mean they can only be used at that center! Some of these activities are great in guided reading groups, as early finishers, or even in morning tubs! 
Syllables are a skill that I am still working on with my kids. They tend to stretch the word out too much and try to create extra syllables.  We actually did this activity together in reading group before I left it out for independent center work.
As most of you know, magnetic letters are always a hit in my room and this word family center was no different. I looked up to check on my kiddos and loved how they used dry erase markers for all of the letter a's without me giving them that idea. Made me smile :)
We are definitely doing a lot of CVC work lately and sorted our word family CVC words in our pocket chart as well.
 Then kids had to cut and paste their words onto their activity sheet.  I have an activity sheet option for every center in my word work pack; however, they are totally optional. Sometimes I use them and sometimes I don't!
We worked on really stretching the CVC word in order to hear that middle sound. My kids are doing fantastic with this!
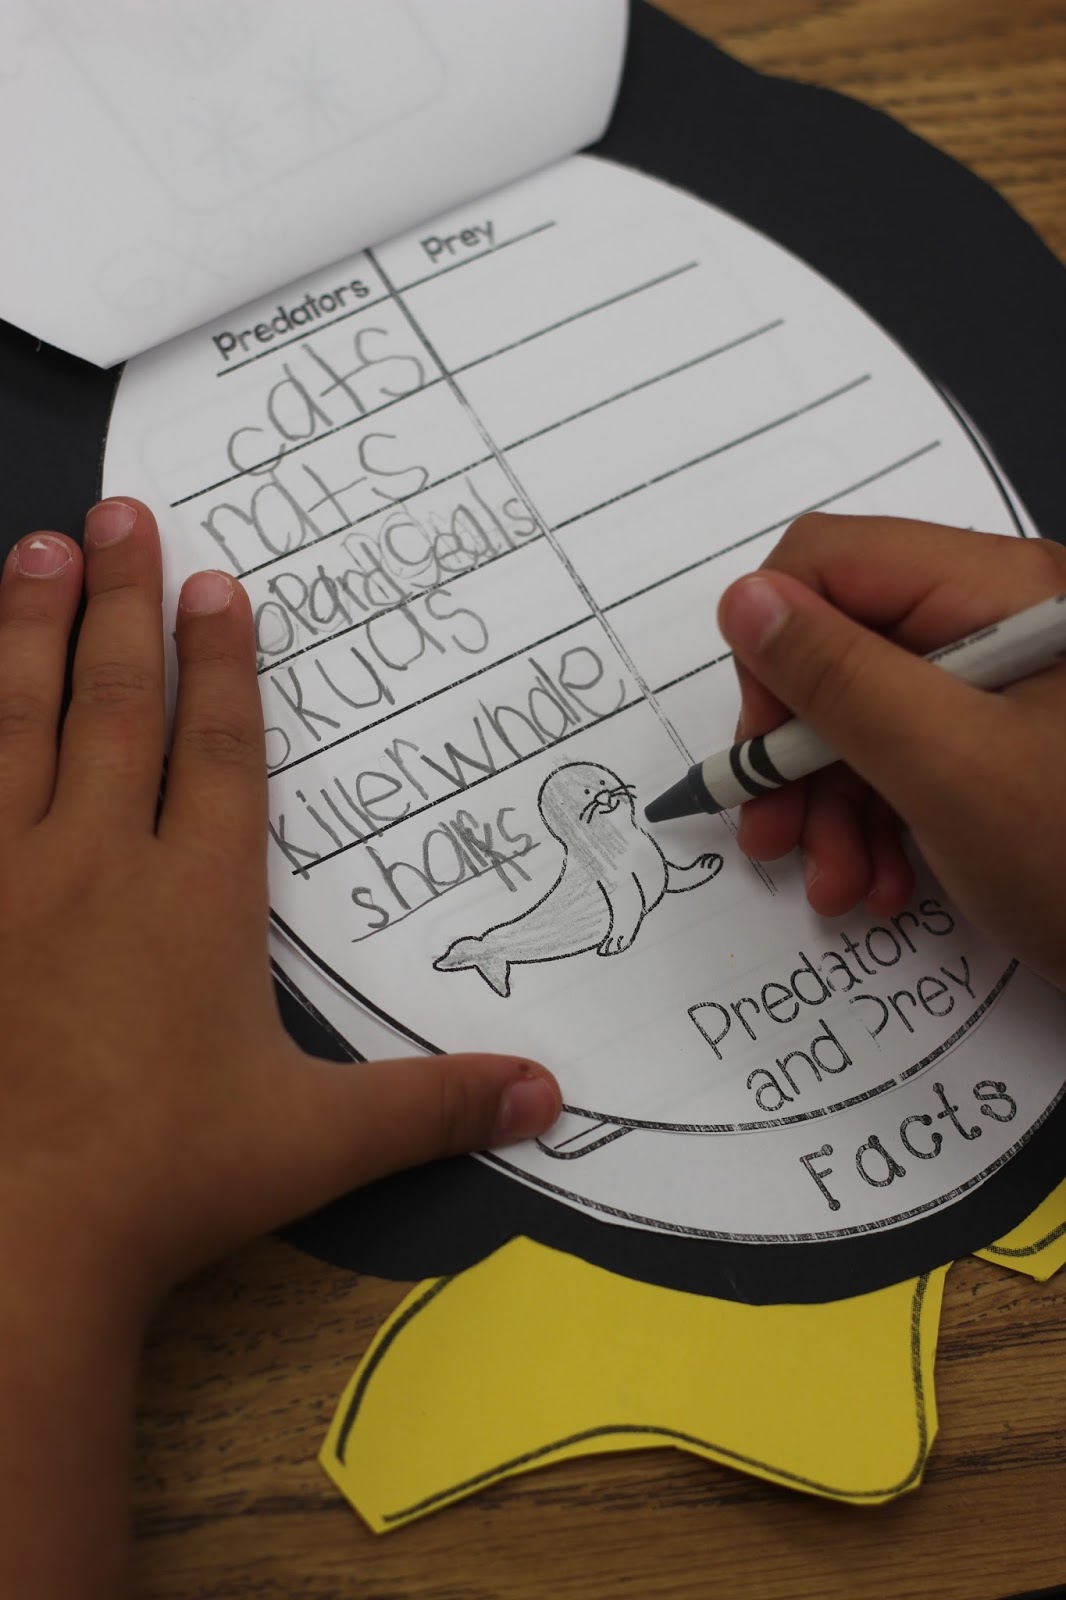
 In 'Penguin Pairs' students had to match the rhyming penguins together and then choose four to record on their activity sheet. 
 I also used these same penguin rhyming cards to play a couple of rhyming games during my guided reading groups.  My students love playing games with me and totally forget that they are learning! We played 'slap the rhyme' together--I put half of the cards all of the reading group table and the other half I kept in my hands.  I would turn one card over for the group to see and they had to 'slap' the rhyming match when they found it on the table.  We had lots of laughs with that one!
I left this center out at the magnetic letter center just to kind of see how my students would do. Let me tell you...they are just amazing! My kids did so great listening to the beginning blends! There was also a 'helper' card left at the center in case they got stuck on any.
 We are always working on sight words in our room and my kids had a blast with this 'Sight Word Party' dice game.  They like predicting the sight word winner too (at the top of their page). I can hear them cheering on their sight word that they predicted throughout the entire center time, haha.
Again, we are reallllly working on those CVC words.  In this center students sorted their words by real/nonsense words.
Then they recorded some of their words on their activity sheet and used one of their real words in a sentence.
The last two centers I am going to share are both building sentences centers. In the first one students sort their cards based on the picture at the top. Then, with those cards, they have to unscramble the sentence.  I always reinforce that the capital letter goes first and the punctuation goes last.  This really helps those kids that may struggle with this center.
The second center that focuses on building sentences is a little different.  I didn't chop my words apart too much, so you can cut yours up and make this more difficult if you wanted.  There are two sentences starters, 'Here is my...' and 'Will you...with me?' Then, students use their picture cards to complete the sentences.
 When they are done they grab a pointer and read their sentences, checking to make sure that they all make sense. If they do, they pick four sentences to record.
Whew! Lots of activities going on in our classroom this week! All of the centers in this post can be found in my January Word Work pack
If you need more centers for winter you can check out my Winter Literacy Centers pack for similar activities!
Don't forget to PIN these centers with the image below!
Happy Monday!!
SaveSave

Thursday, January 18, 2018

Penguin Craft (Informational)

We LOVE learning about Penguins!! It may be one of my favorite units to teach too.  As we read our informational penguin books, we add all of our learned info onto a KWL.
I ask my kids questions from the KWL every morning before we read another book to make sure that they are remembering all of the info that they have learned. For instance, 'raise your hand if you can tell me three different things that penguins eat.' My kids LOVE showing what they know!!
So we decided to make this cute informational penguin so students can really show off everything that they have learned!
We make one page a day so students don't rush through their work. 
Then when we are done, we staple our books onto the belly of our penguin craft.
These cute penguins make an amazing bulletin board display. We have gotten so many compliments from not only fellow teachers (who are very impressed with our work) but our principal too!
You can grab this informational penguin craft by clicking on the image below.
You can also grab this similar informational bear craft.

Tuesday, December 19, 2017

Kindergarten Holiday Party

We had our holiday party on Monday and had so much fun!! It was the same day as our field day...talk about tiring! But, somehow we survived it.

I know I've said this before, but things change when you have kids of your own. One thing that has changed for me is that now I am all about keepsakes!! 

For our first center we made these cute snowmen out of socks.  We cut the top of the sock down a little then filled the bottom of the sock with rice (this weighs the snowman down).  We filled the rest of the snowman up with filler then tied it on with a rubber band.  The second sock then became the snowman's hat.
We decorated the snowman with accessories from Oriental Trading.  I left pom-poms, buttons, and fun googly eyes at the center. The kids used fabric glue to adhere everything; however, I ended up reinforcing it all with the hot glue gun later that day.
Then we made these cute and simple decorations (you can turn them into ornaments by adding a ribbon when they are dry). We used tongue depressors, stickers, and sequence from Oriental Trading to decorate. The kids loved this one!! I think next year I will have to take pictures using a fun SnapChat filter or cute props!!
I left out a couple of 'easy' centers for the students to do while we were busy with some of the more hands on centers.  This activity my kids have done before so they were able to play independently.  This center is from Oriental Trading as well and is all set and ready to go!
I do this center every year, reindeer food.  It is a must for the little ones!
I didn't take many pictures in class because I was busy making the salt dough ornaments with the kids.  At this center the kids can't do much, so I called them back one at a time here when I was ready.
They pressed their hands into the dough then I pressed a hole in the dough for a future ribbon.  
I took all of the prints home to bake. The recipe can be found here.
After they were done baking I ended up painting them at home instead of letting the kids paint them (just no time!). In the future I would let them paint their own.
I sprinkled them with glitter and painting a layer of mod podge on top.  When they were dry, I hot glued some cotton balls to the bottom to make them look like mittens and tied a string on to turn them into ornaments.
Then, I wrapped them up and they are ready to give out as parent gifts!

You can see last years holiday party HERE.

Sunday, December 10, 2017

DIY Ornaments

I wanted to host a little DIY ornament night at the house and needed an easy ornament for the kiddos and one ornament for us moms to make!! We picked up these ceramic ornaments in the Target Dollar spot for the kids to paint.
 We told the kids they were like little elves in their ornament workshop. They loved it!! We gave each one of them a cute elf hat they I picked up on Oriental Trading. The table decor and the hassle banner I also found on Oriental Trading.
I still need to get the kids to go back and decorate their ornaments. I was thinking of having them add more color when this layer dries.  Maybe using paint and a q-tip.
 Then the kids sat down for some ice cream while the moms got to work on their ornaments!
 I am SO glad I tested these ornaments out at home before trying them in the classroom.  First of all, I thought I had the clear ornaments that came apart into two pieces, but I didn't. So it was very tricky getting the kids pictures inside of the ornament and into the place where we wanted them.
 It was basically impossible to get the tree where we wanted it because even tweezers were hard to maneuver in the top of the ornament. 
 But, we finished and I love them! I think they will look cute with a big bow on the top to add some more color! 
Next time I make these I will have to use the clear ornaments from Oriental Trading that you can find HERE. Those come apart and would be way easier! You can also find the fake snow HERE

Monday, November 7, 2016

Holidays Around the World (Kindergarten)

Holidays Around the World is probably my students favorite unit of the year! This is a unit that you can really customize.  If you want to teach it yourself and not go too wild decorating the room, you can. Or if you want to involve parent volunteers, decorate the room, and go all out, you can! Either way (and I have done both) the kids LOVE it and learn SO much!
At the beginning of December, the children complete their boarding pass.  I make one boarding pass for all of our journeys and just write in 'around the world' for our destination; however, if your children can handle a little bit more, then you can make a boarding pass for each country that you will travel to.  Before beginning we also get our suit cases ready, bag tags, and passports!
Even our elf has to get in on the action!
When it is a travel day, the children grab their boarding pass, passports, and suitcases and wait in line (in the hallway) to go through security.  I (or you can have a parent volunteer) check their boarding pass, I make sure their passport matches up to who they are (they love when I ask them to state their full name), and then I pretend to scan them with an old remote. Occasionally someone sets off the alarm and needs to be pulled aside and scanned again! 
If you have an old box that you can cut holes in, you can put it on a table and have students send their suitcases through the box and down the table- pretending to run it through the x-ray machine.
Then, they board the plane and take their seats!
Once all of the students are aboard, I close the door and give the official airline announcements- I tell students to place their carry on luggage under the chairs and buckle up for safety! We then watch a real airline safety video from YouTube found HERE.  It is great! We watch the same one everyday and its so funny to hear the kids start to memorize what they have to do, haha.
I then put on a flight simulator (found HERE). It is quick and basically just simulates a plane taking off. 
Once we are 'in the air' I read them the slides that are included in my Holidays Around the World pack.  The slides have tons of kid friendly info and will really explain the country you are traveling to- their holiday, traditions, etc. 
When we land, we are officially in another country! I have centers set up that are all based around the country that you traveled to.  Below, you can see us in Israel!
We made dreidels to eat!
We played a dreidel math addition game.
Spelled our CVC words on the menorahs for our 'Festival of Lights' activity.
And even played color dreidel with real dreidels! They loved this! Whichever color their dreidel landed on, they would 'check off' on their white board. The first player to land on all of the colors, won! But at the end, everyone was a winner and won a bag of gelt to take home in their suitcase!
The next day of school we would follow the same procedure all over again! This time, traveling to a new country! The students even started to read their books as their entertainment while the plane took off!
Reading their science textbooks on the plane ;)
When we landed in Mexico we made pinatas for La Posada!
I let students choose one item from our class treasure box and I had parents donate candy for the inside of our pinatas. 
Then we closed them up and they were ready to take home. Students LOVED sharing this Mexican tradition with their family.
Throughout the week we continued our travel.  Our next stop was China! Here we made Chinese lanterns for the Chinese New Year.
We even made dragon puppets!  When our lanterns and puppets were finished we walked around the classroom and through the office at school on our own Chinese New Year parade!
My Holidays Around the World pack contains everything you will need to take this journey in your own class! You can read a little bit more about what I've done in the past HERE.
This pack travels through Mexico for La Posada, China for the Chinese New Year, Germany for Christmas, Holland for Christmas, and Israel for Chanukah. 
There will be a second Holidays Around the World pack (with 5 new countries) coming soon!